Deployment
Sanity
Section titled “Sanity”Sanity is hosted in their servers, so they deployment is made through the CLI.
You’ll need to have @sanity/cli installed to be able to deploy changes.
Our process is:
- Develop locally
- Pull from repository
- Push changes to repository to always be up to date
- Deploy to production
To execute the deployment you just need to sanity deploy in your terminal and choose the netwrix studio when prompted to do so.
There are usually weekly or biweekly updates to both sanity and the @sanity/vision plugin, so we try to keep up with them as we deploy. The CLI will warn you if there is an update available, so we usually cancel deploy, update, push again to repo and then deploy.
The frontend repository is deployed in Netlify. This is an automatic pipeline and it will deploy the main branch every time we push a change to the repository.
You can see your deploys from the Deploys section in your Netlify dashboard.
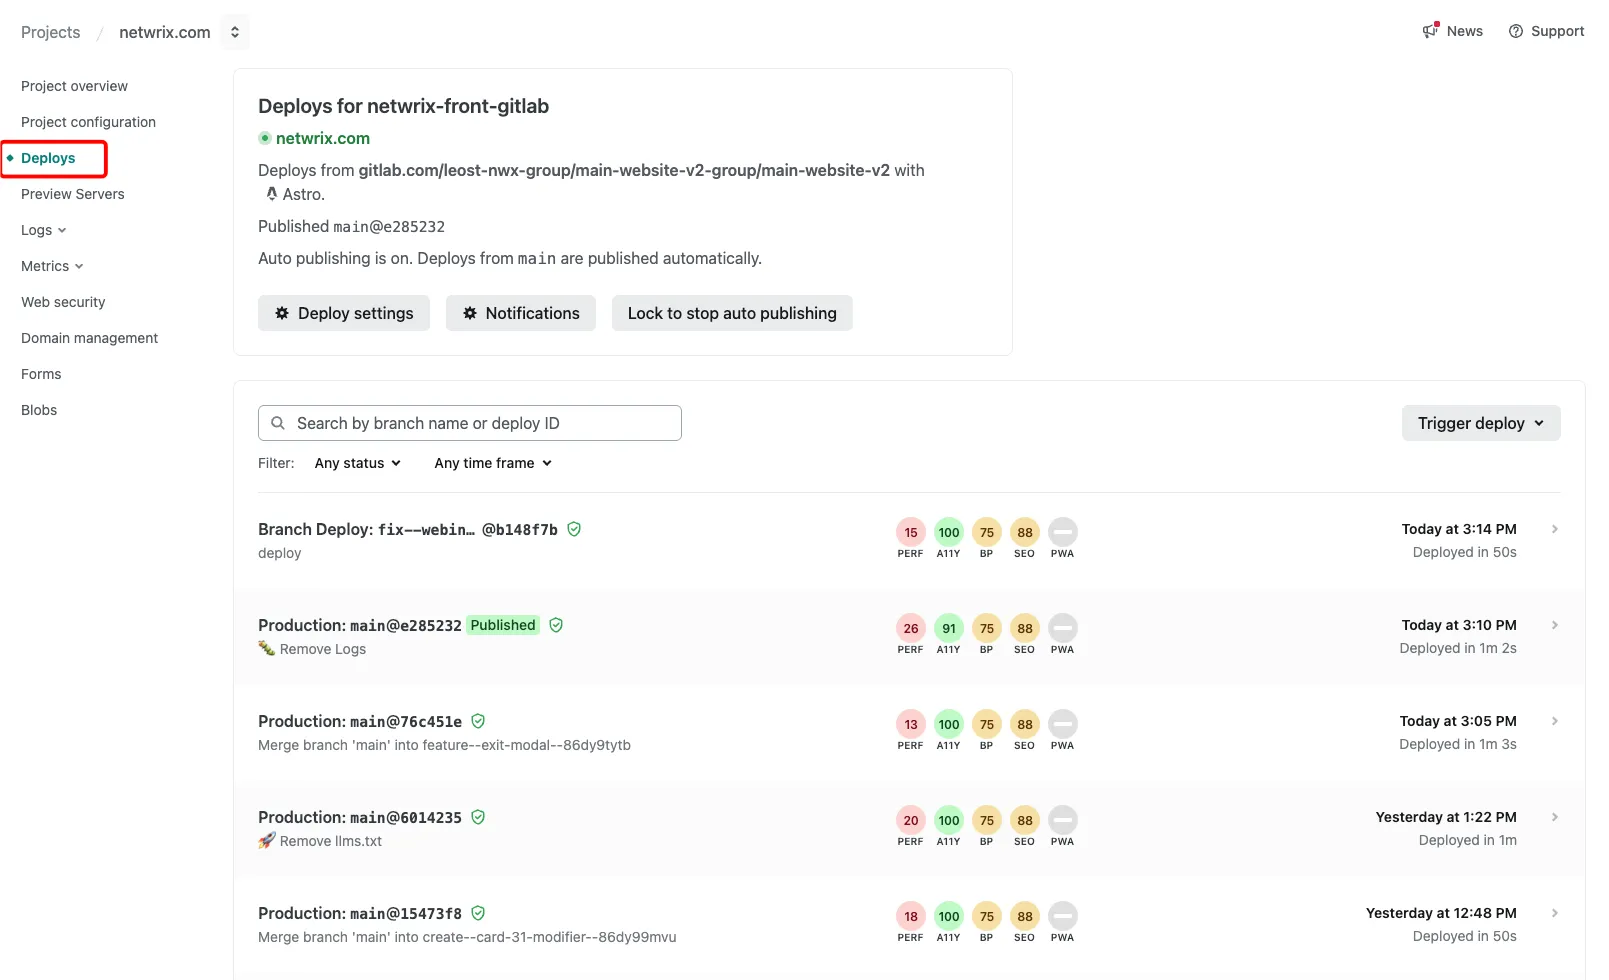
If you need to (like to update redirects) you can use the Trigger deploy button there to do so immediately. This only works for the Production branch.
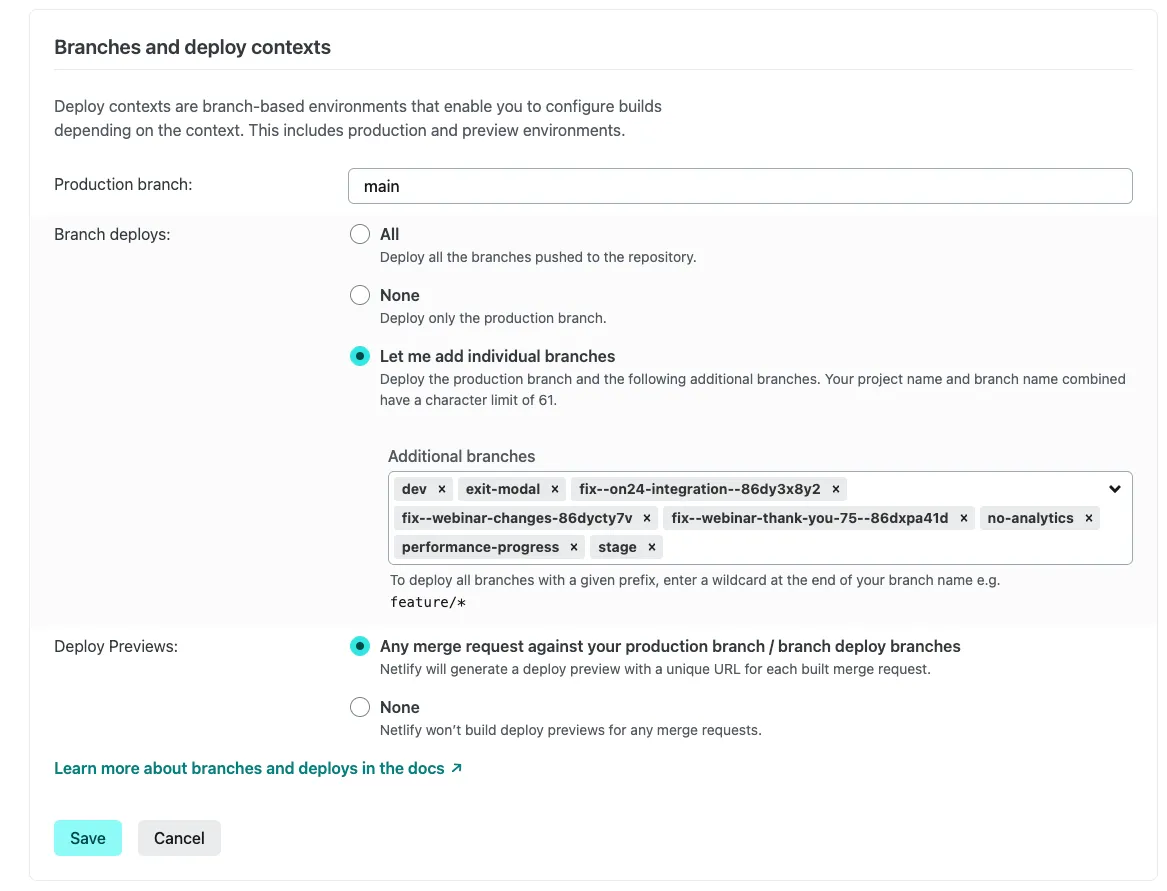
Branch deploys
Section titled “Branch deploys”If you need to deploy a concrete branch, you can head to Project configuration -> Build & Deploy and scroll down to Branches and deploy contexts.
You’ll only need to hit ‘Edit’, paste in your branch name and any future pushes to that branch will automatically deploy.
And then you’ll see it in your Deploys section marked as a Branch deploy:
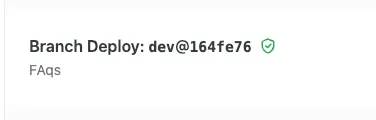
And Netlify will generate a new URL for that deploy, like: https://dev--netwrix-front-gitlab.netlify.app/
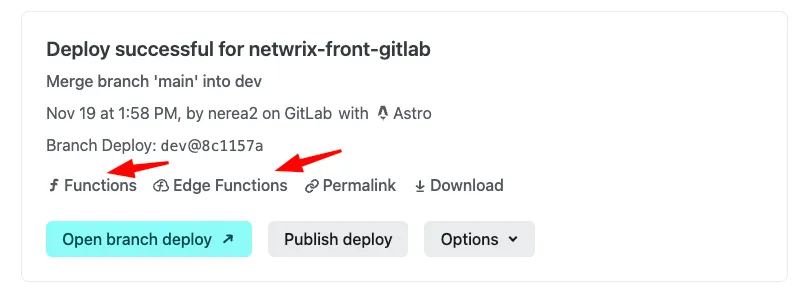
If you click into the branch deploy from the Deploys panel, you’ll get to a section where you’ll be able to see a summary of the deploy and also access your function logs for this deploy: